Click on the deploy button from the navigation bar to enter the tool and you will be presented with a list of past deployment attempts, shown in the display below.
From here you can review all the current and past deployments, which is covered in a different section of the manual.
Click Create a new deployment at the top left of the display.
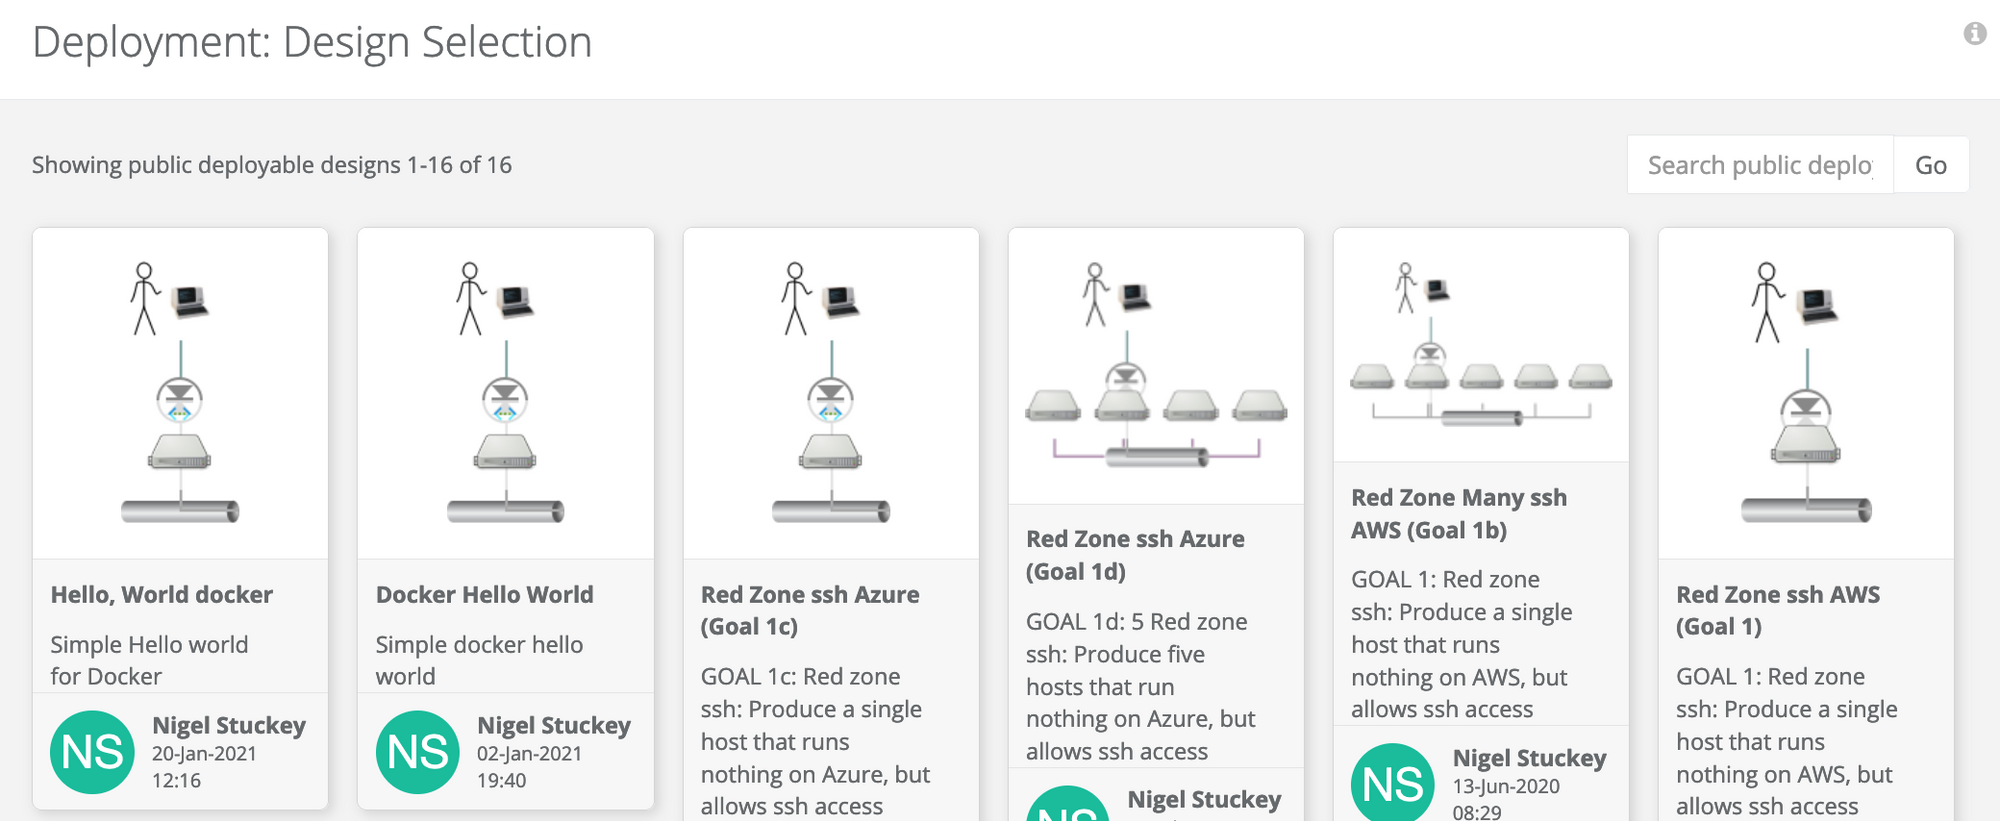
A new page is drawn that shows a a grid of designs that are deployable by you., similar to the one below.
These designs are ones that are public, presenting the key information on each card. Click on a design to select, which drills into another display giving the versions for that design.. The list is ordered, with the most recent at the top left and this is the most likely one you will want to choose. Click on the card to select.
Design Compilation
At this point the design is compiled and the screen changes to a deployment form, loaded with the design at the version just selected.
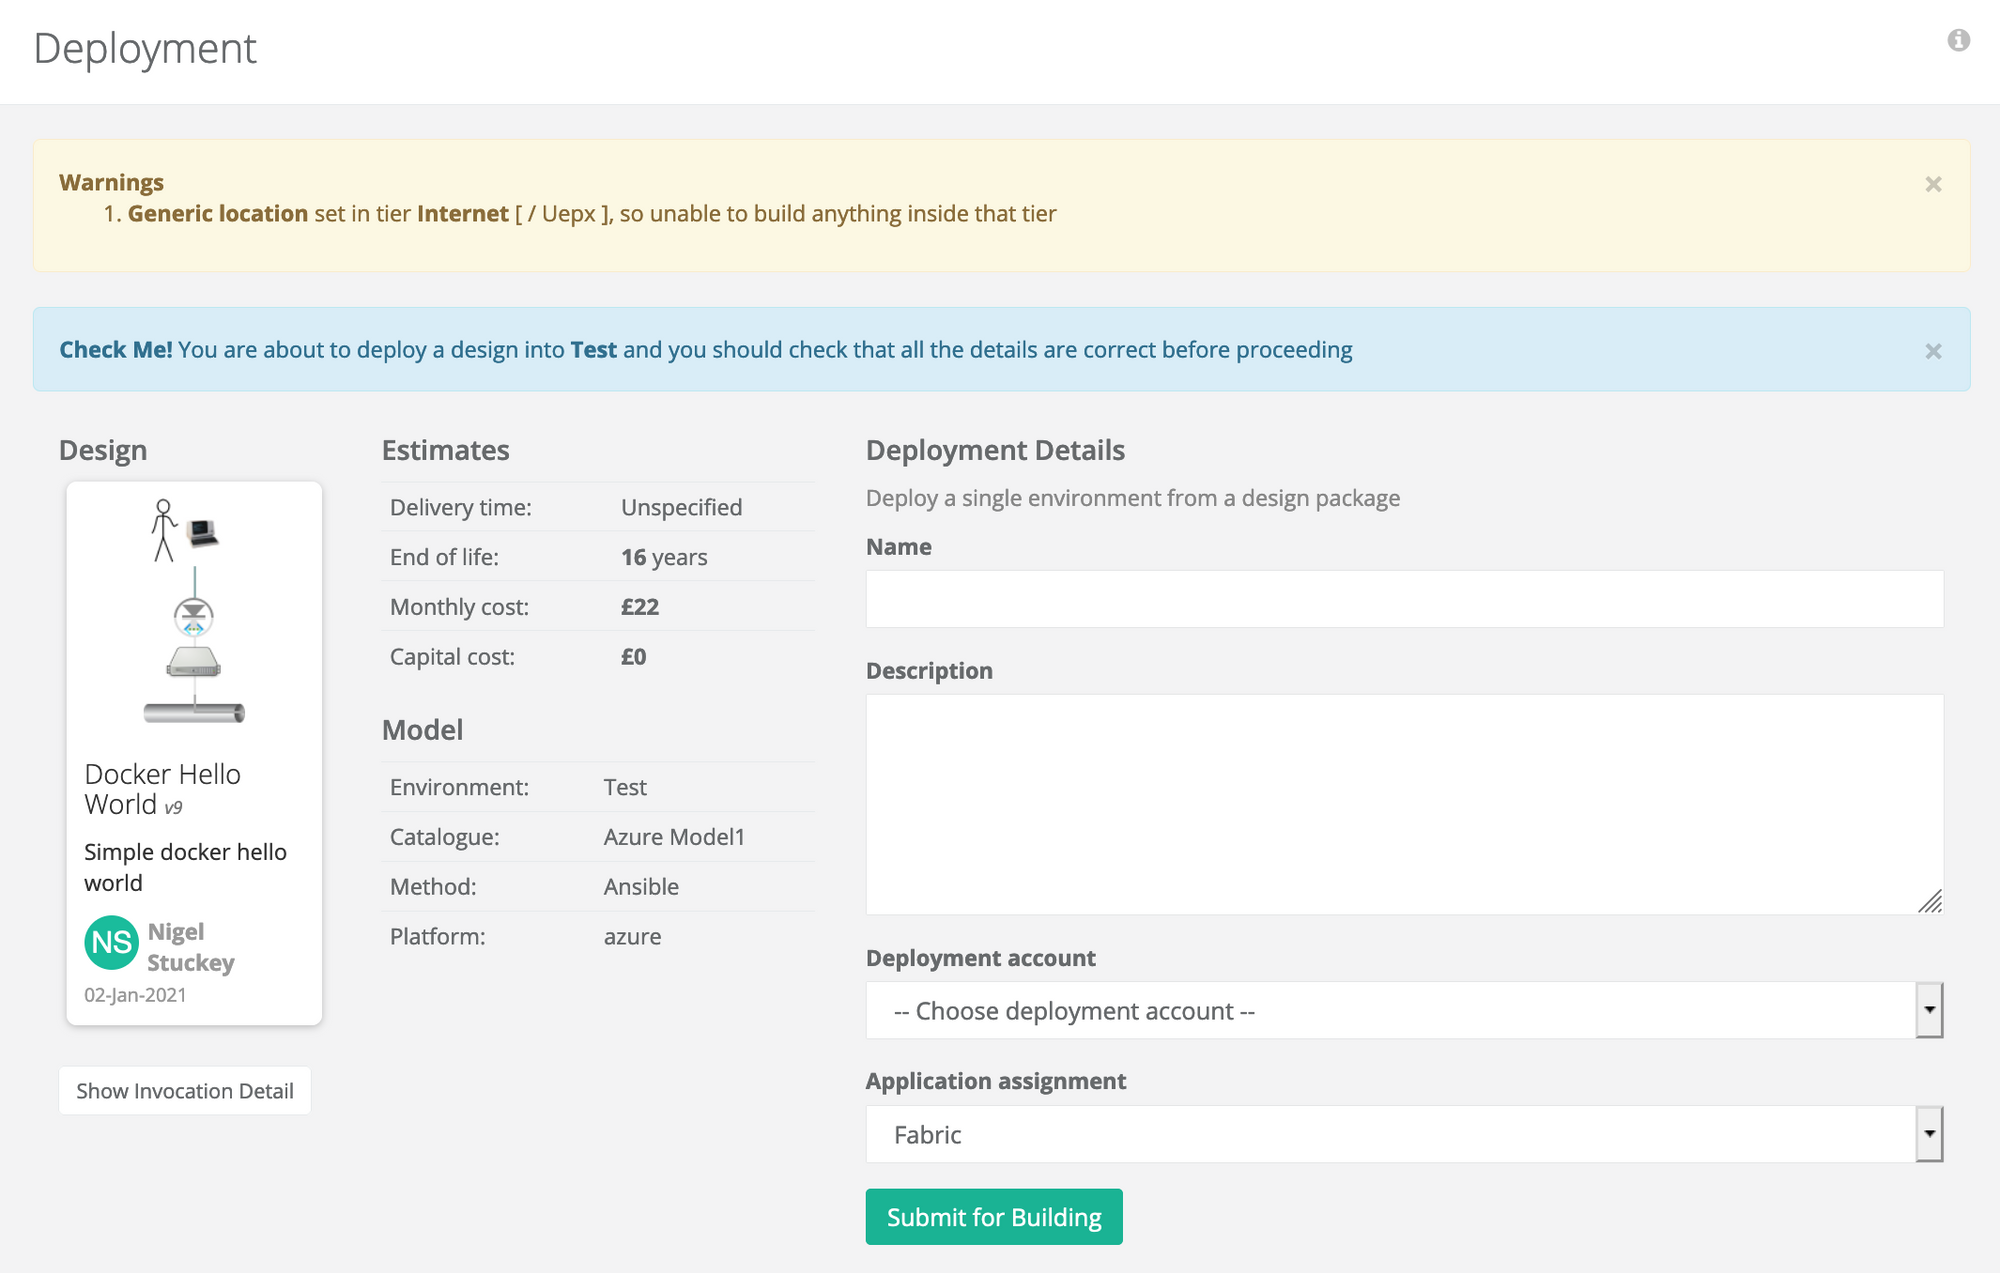
Both errors (in red) and warnings (in yellow) are printed above the form. If there are any errors, the deployment is not permitted and remedial actions will be needed to correct the design before it can be deployed.
In the example above, a yellow warning box explains that there is a generic location in the tier internet and that can't be built. In this example it is fine so we can proceed. (In the future this warning may be suppressed.)
Deployments are allowed if there are warnings, but it may still adversely impact the overall deployment process. So you should check with the design to see if it can be resolved or safe to ignore. Proceed with caution.
Review and Population
The design card is shown on the left of the form, which will show a read-only, full screen view of the design if clicked on.
Below the design is the button Show Invocation Detail that displays the orchestration code to build the design in a section below the form.
In the middle section is a set of data about the deployment and then to the right are form fields.
Name
This will be used as a human reference and could be based on the version with the design, overall project or product name
Description
A longer description of the deployment, potentially mentioning changes that have taken place.
Deployment account
Accounts that match the platform (azure in the example) and for which the deploying user has rights are added to the pulldown. You may have several accounts you could use, so this is the opportunity to select the most appropriate. User rights are handled by the deployment accounts tool in the Administration section.
These accounts relate to the billing accounts for the infrastructure provider, and will be used to generate invoices for cloud services. therefore, it is important to get this correctly assigned.
Application assignment
The list of applications to which the deploying user has rights to assign. Select the appropriate one, similar to the deployment account field above. This is used to calculate a cost recovery for each application, among other things.
Once completed, click Submit for Building at the bottom.
Watching the Build Take Place


